In Part 6 Pond Construction – Filling Up Pond With Water I talked about filling up the pond with water, installing some equipment and checking for leaks. In this post I’m going to talk about my initial pond plant selection. I wanted to get the pond plants in there as soon as possible so they could start growing. The pond is not complete yet but its a perfect time to add some plants. This will give them some time to start growing. The plants are all placed in pots so they can be moved around as seen fit.
Materials Needed
- Plant Pond Baskets
- 9 Gallon Water Lily Pots
- Pond Plant Fertilizer
- Pond Seaming Tape
- Scrap Pond Liner
- Cinder Blocks – Both two holes and one hole, From Home Depot
- Clay Soil – From My Yard
- Pea Stone Gravel – From Home Depot
Initial Plant List
- Texas Dawn Water Lily
- Wanvisa Water Lilty
- William McLane Water Lily
- Antares Water Lily
- Dwarf HorseTail
- HorseTail
- Dwarf Umbrella Palm
- Double Flowering Arrowhead
- Creeping Jenny
- Sensitive Plant
- Orange Snowflake
- Spring Bird Dwarf Water Lotus
- Parrot Feather
- Pink Lotus Grown from Seed
- Red, Yellow, Blue Varieties of Louisiana Iris
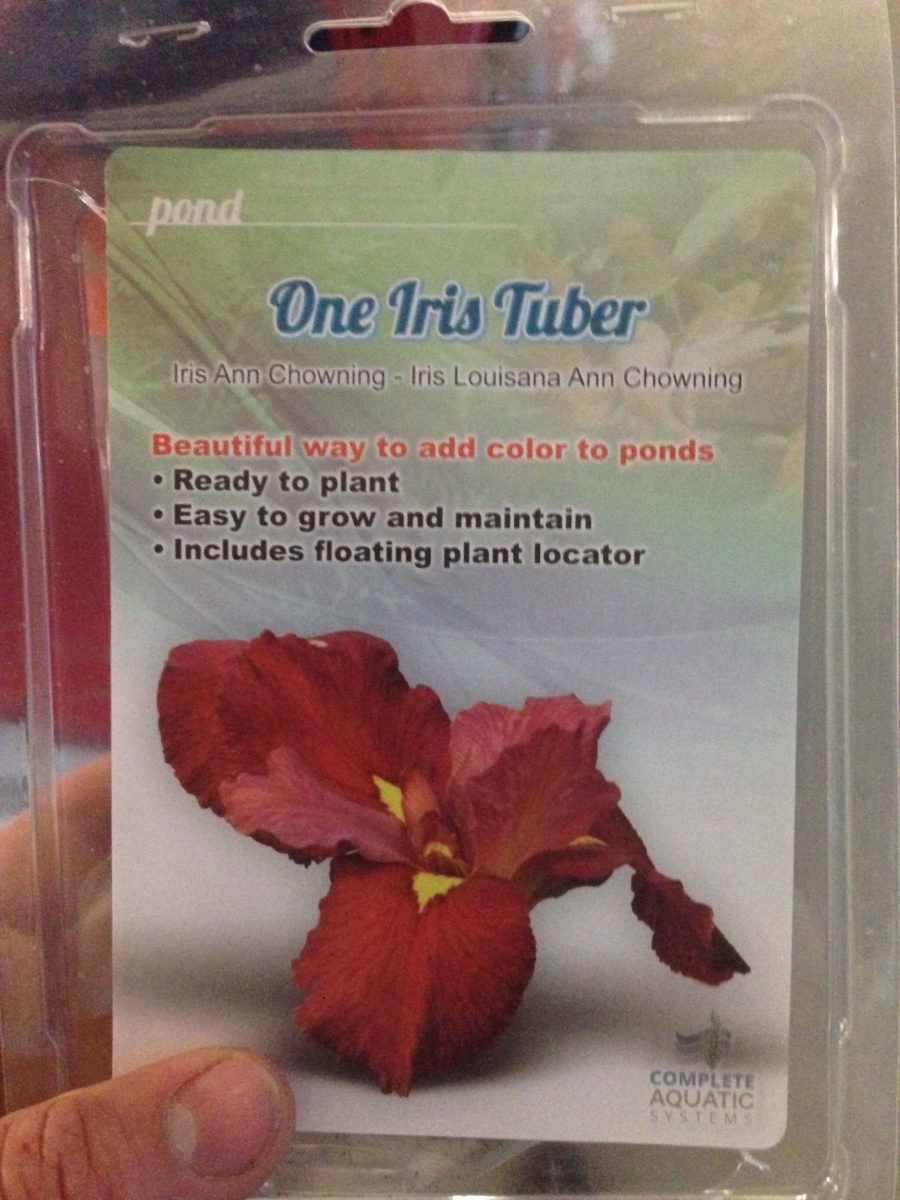
Of course this is my initial list and the first plants I decided I wanted to have. Obviously I would add more later on. This list for me was a great start. Besides the Iris and the Pink Lotus everything was purchased as plants. I purchased lotus seed from ebay and I purchased some packaged Iris tubers from Petco.
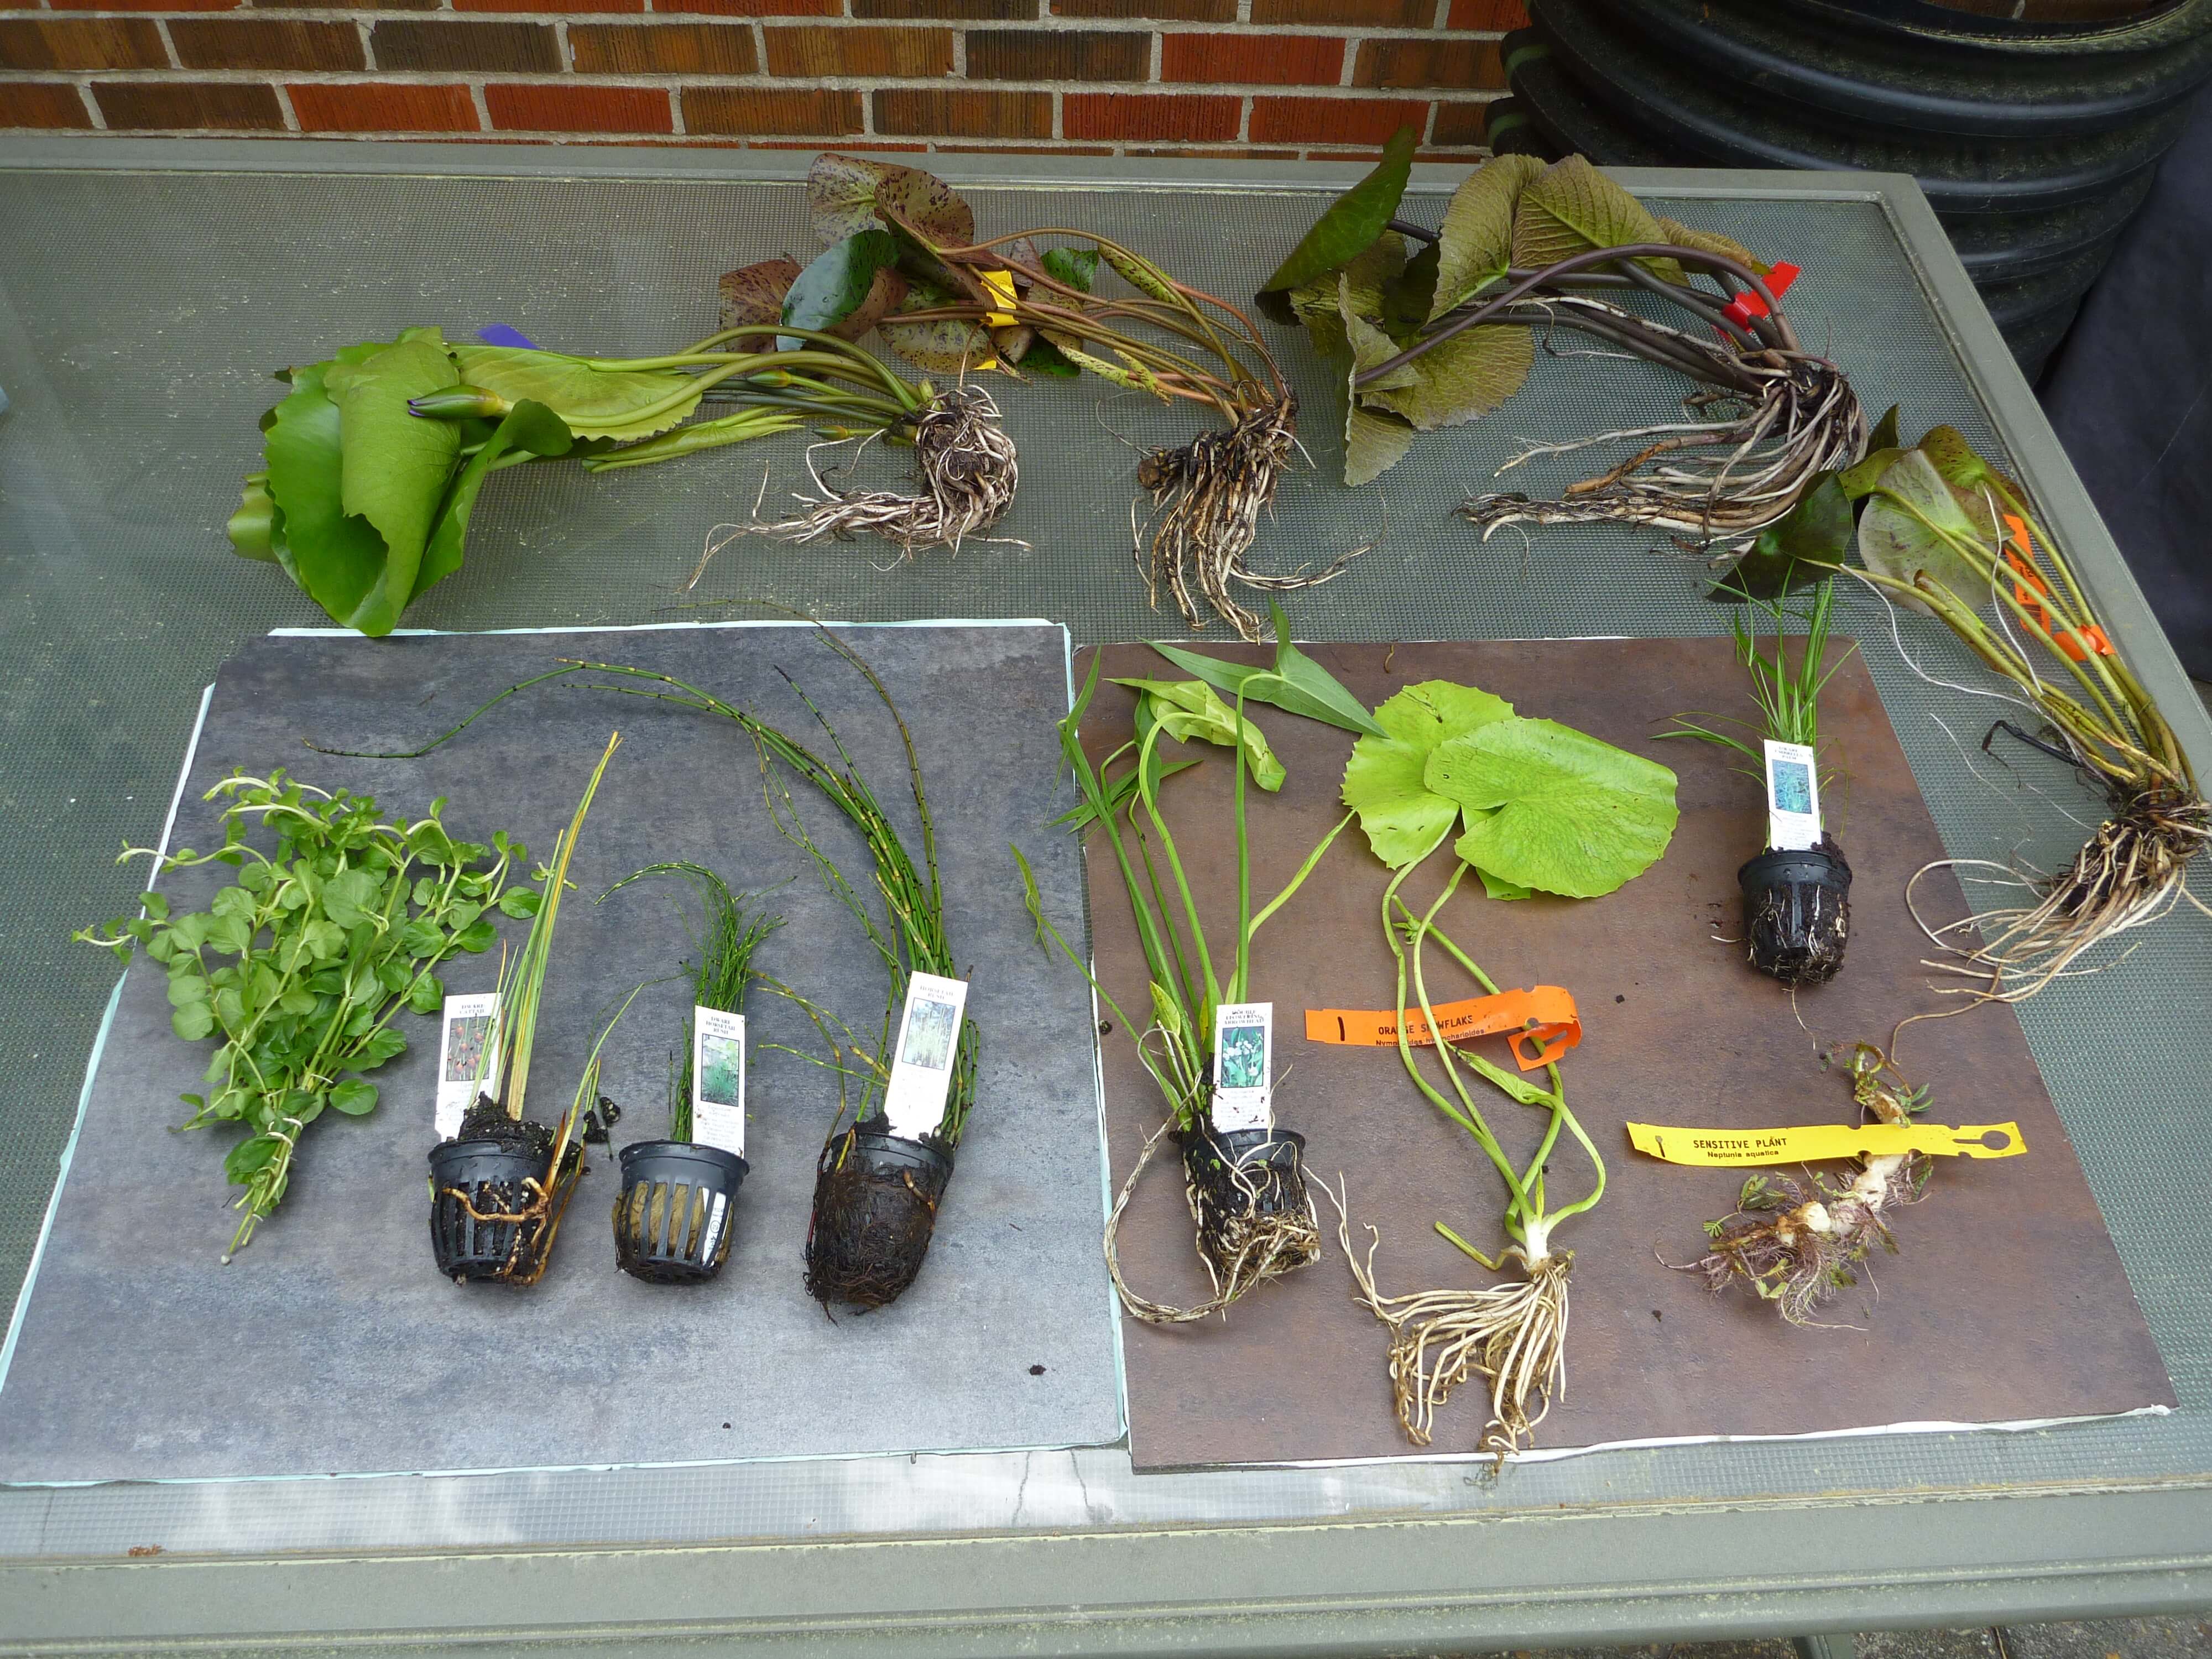
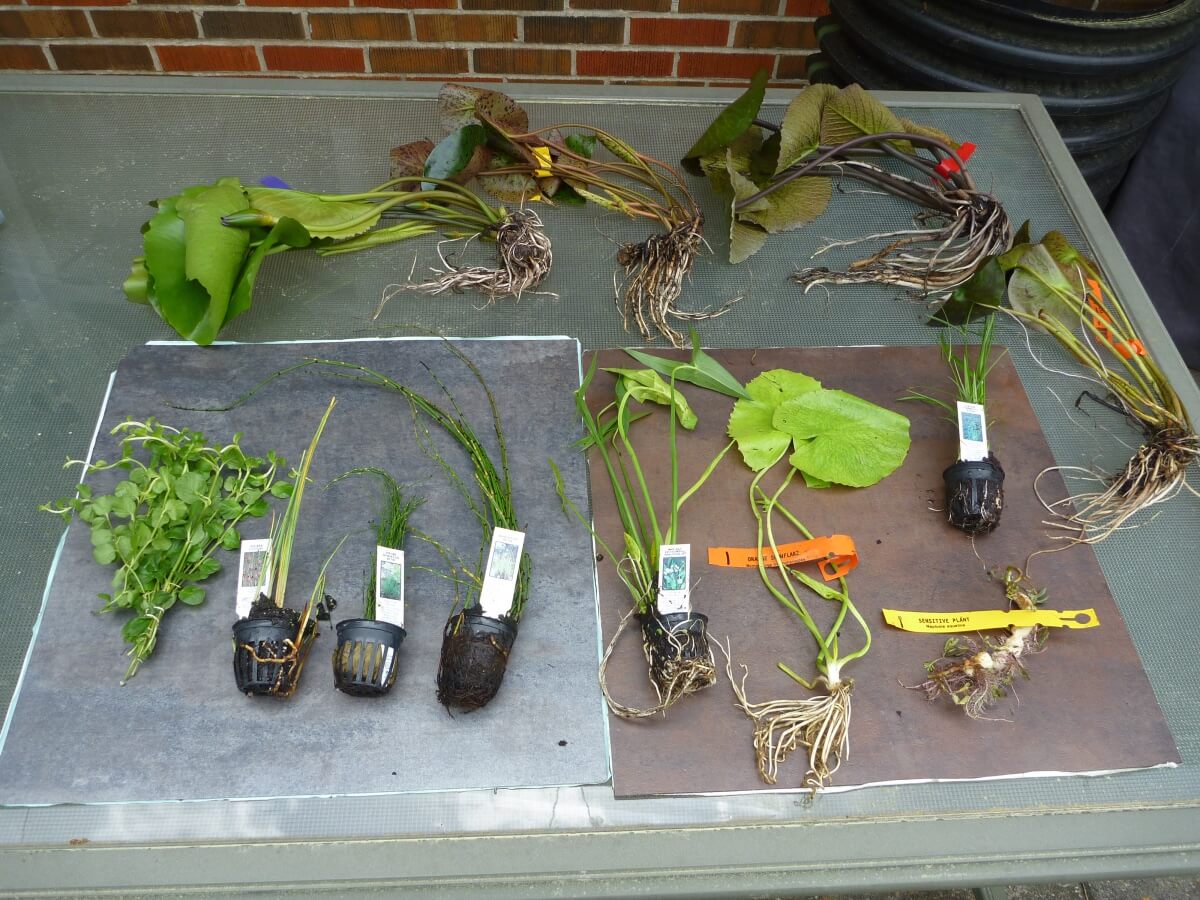
The majority of my plants I ordered from pondmegastore.com and I was very happy with my order, here is a picture of when they came in:
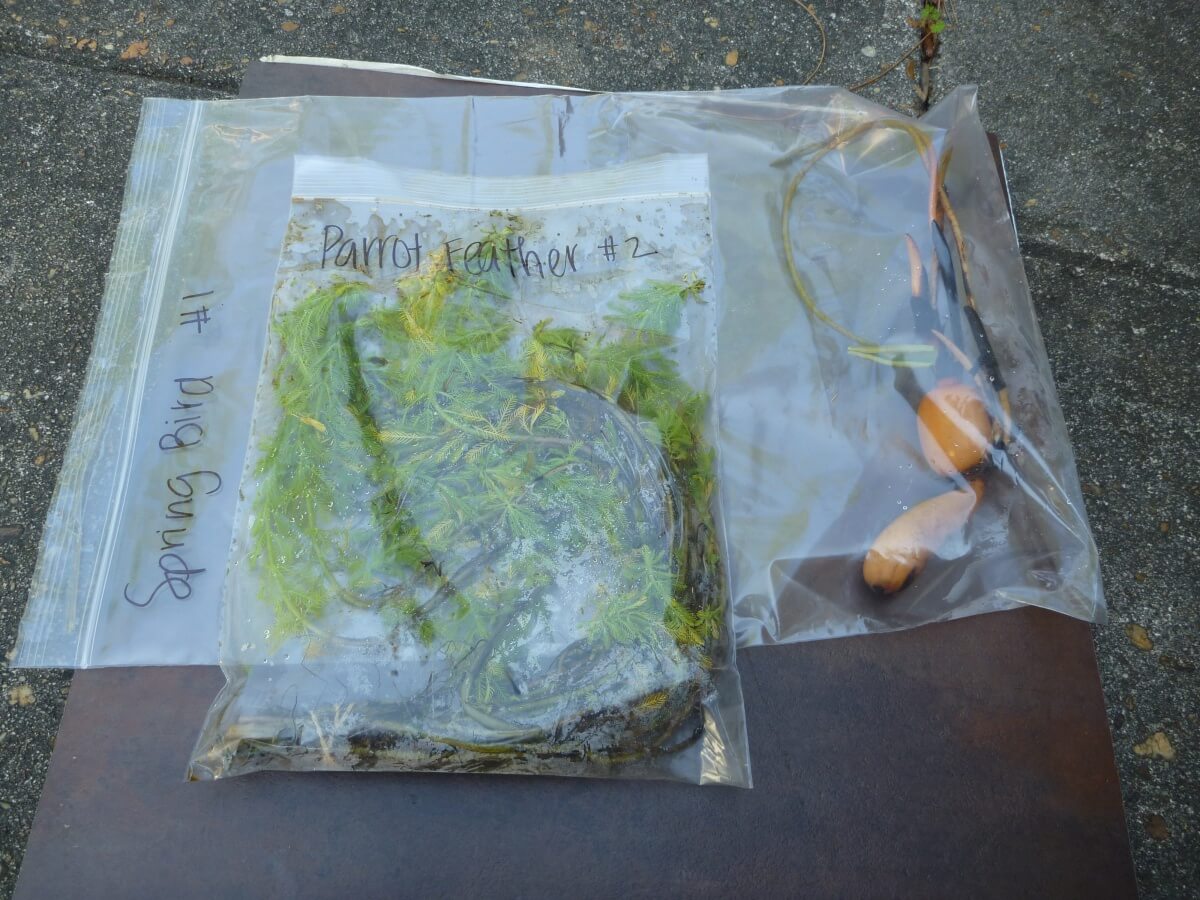
The Parrot Feather and the Spring Bird Dwarf Lotus were ordered from pondplantgirl.com and here are pictures of that order:
After receiving in all the plants it was time to put them into pots and get them into the pond. Luckily I have clay soil in my yard because that is the best soil to use with water plants. You can buy Aquatic Pond Plant Soil but for me it would be very expensive because I needed a lot. I filled up the pots for the water lilies and placed them near the ponds edge.
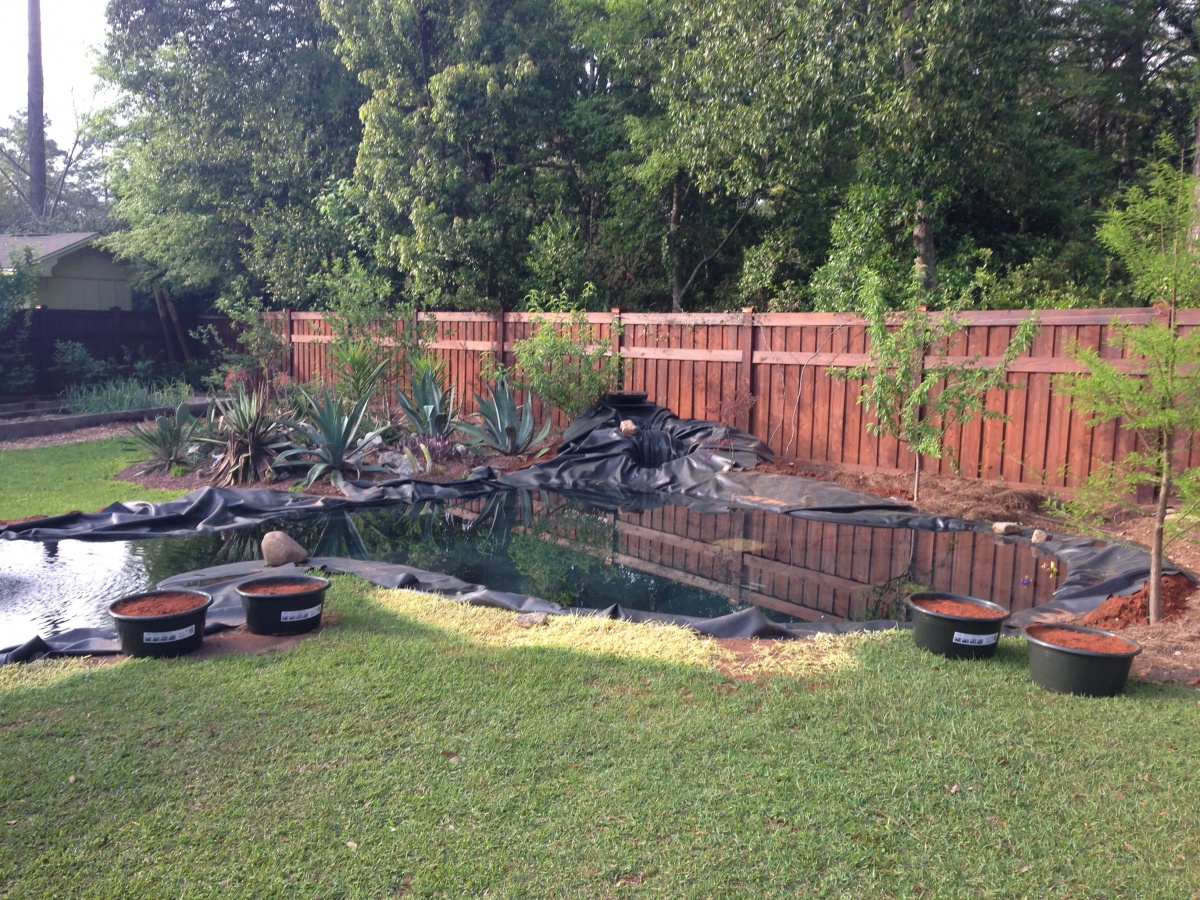
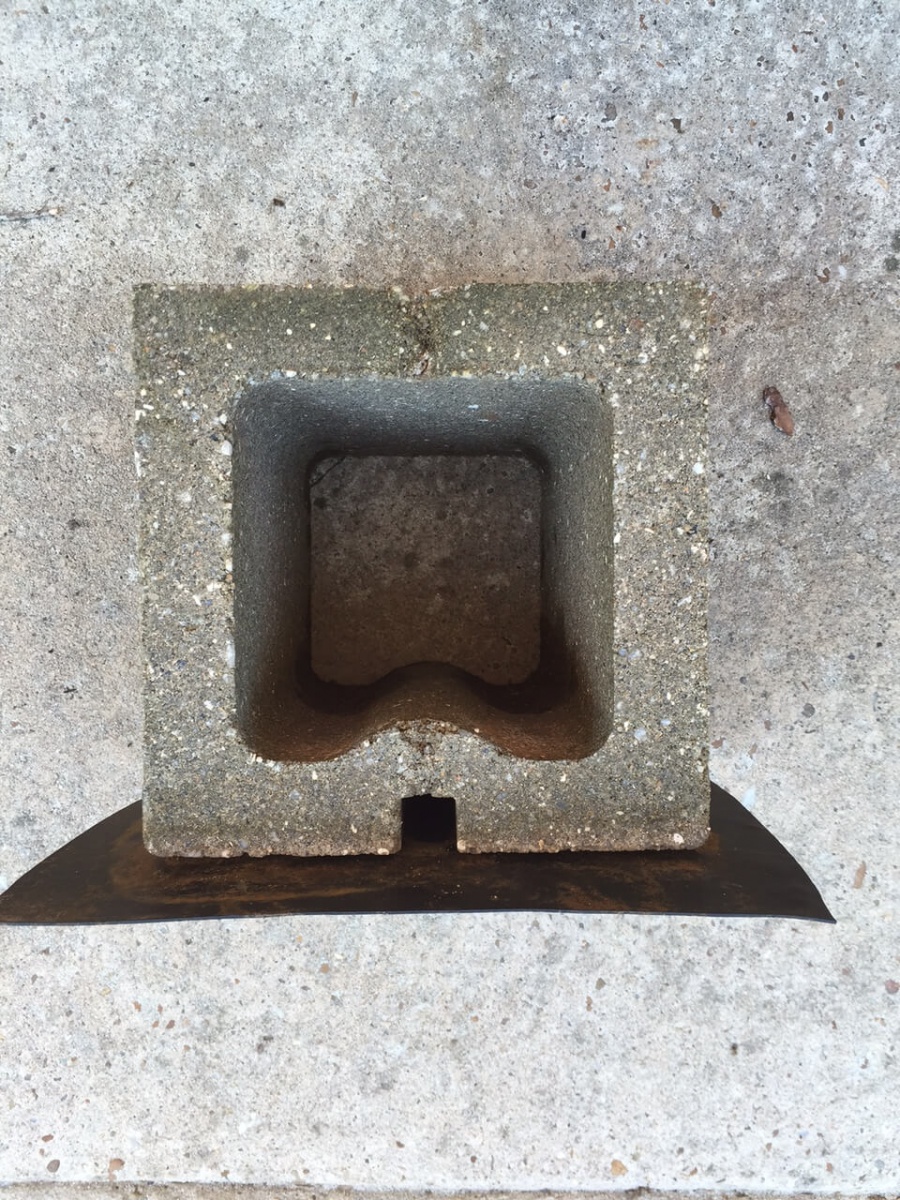
Then I planted the water lilies in them and slowly added them to the pond. I use a trick with my plants that involves cinder blocks. The cinder blocks help me to adjust the plant height. I buy the 2 hole and 1 hole ones from Home Depot and then use pond seaming tape to tape a scrap piece of pond liner to the bottom. While probably not needed I taped the scrap pond liner to the bottom to protect it from puncturing the pond, sometimes the cinder blocks have pretty sharp bottoms. I can then use the cinder blocks to adjust the height of the plants. For instance I can start the hardy water lilies in the deep end of the pond using a 2 hole cinder block. Once the water lilies are bigger I can switch to a one hole cinder block so they sit deeper in the water. Here is a picture of a 1 hole cinder block that I used.
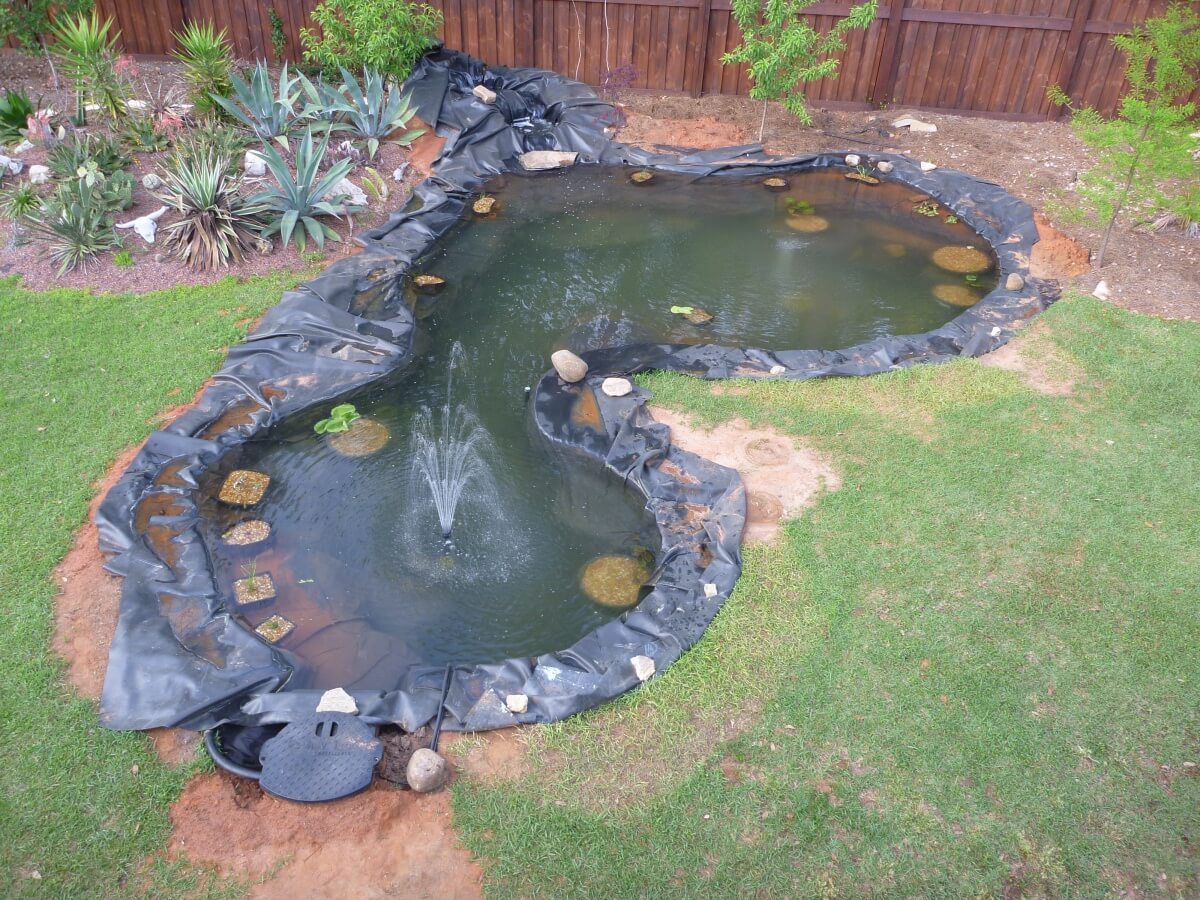
Finally here is a picture of the plants added to the unfinished pond. It is important to plants your plants at the proper height. The shelves I created in the pond as well as the cinder blocks help me to give them the proper water depth and adjust accordingly.
Next Post: Part 8 Pond Construction – Adding Rocks and Edging the Pond
Disclaimer: Links on this page that go to Amazon.com will provide me with a referral credit if you purchase using the links. Thanks,