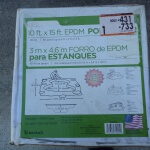
In Part 4 Pond Construction – Waterfall Formed & Digging Completed I talked about getting the formation of the waterfall in place and finished the digging of the pond. I also leveled and installed the skimmer box. In this post I’m going to talk about the Koi tunnel I created and pond liner installation. Before I start talking about any of this I had to buy a few items. In order to figure out what size liner I needed I used this calculator from pondliner.com. The pond liner will be the largest expense for this pond. I needed one bigger than normal because of the unique shape of my pond. This will mean I will have some left over. A piece of it will be used for the waterfall and I will sell the extra scraps that are big enough for someone else to make a smaller pond out of. I chose to use Firestone 45mil EPDM pond liner because it is the industry standard and should work well with my application.
Materials Needed
- 40′ x 40 ‘ Firestone 45mil EPDM Pond Liner $1,256
- Three 12′ x 25′ Pond Underlayment Pieces $135
- One 6′ x 12′ Pond Underlayment $20
- Pond Liner Tape
- Waterfall Foam
- Black Drainage Pipe 24″ diameter x 26″ long
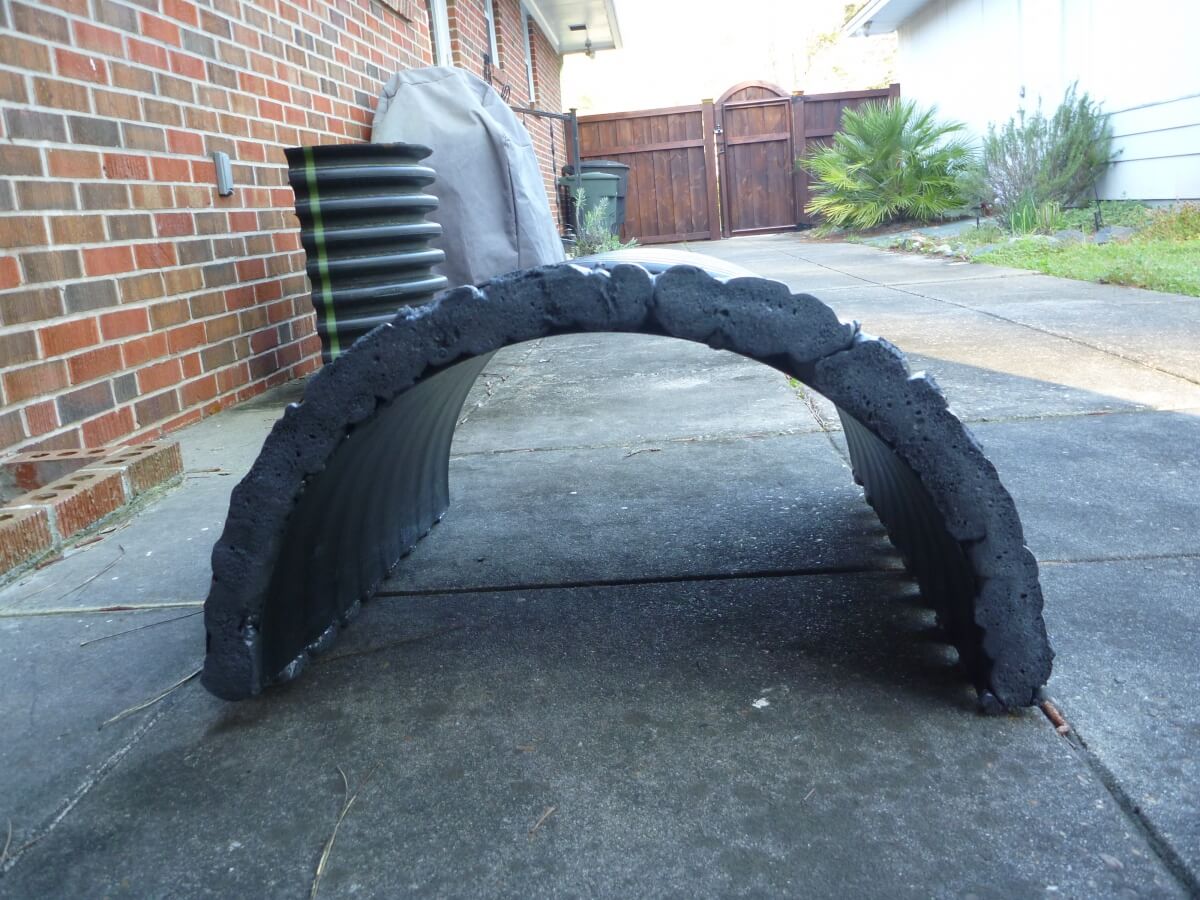
Before I put out the liner I wanted to build a Koi tunnel or cave. In the long run I do plan on having Koi in this pond and it is essential there is a place they can hide from predators. While I could have bought a premade one I wanted something much bigger so that multiple large Koi could take shelter in it. My father-in-law found me a nice piece of drainage pipe. It was really big so I decided to cut it in half. After cutting it in half I noticed the edges were rough so I sanded them down. I also added sand to the exposed chambers and sealed in the sand with waterfall foam. The foam also helped with the rough edges. Despite all that work I decided to also put in scrapes of pond liner where the tunnel would touch the pond liner as an extra layer of protection. Here are pictures of the finished Koi tunnel and a test installation before the Liner is installed.
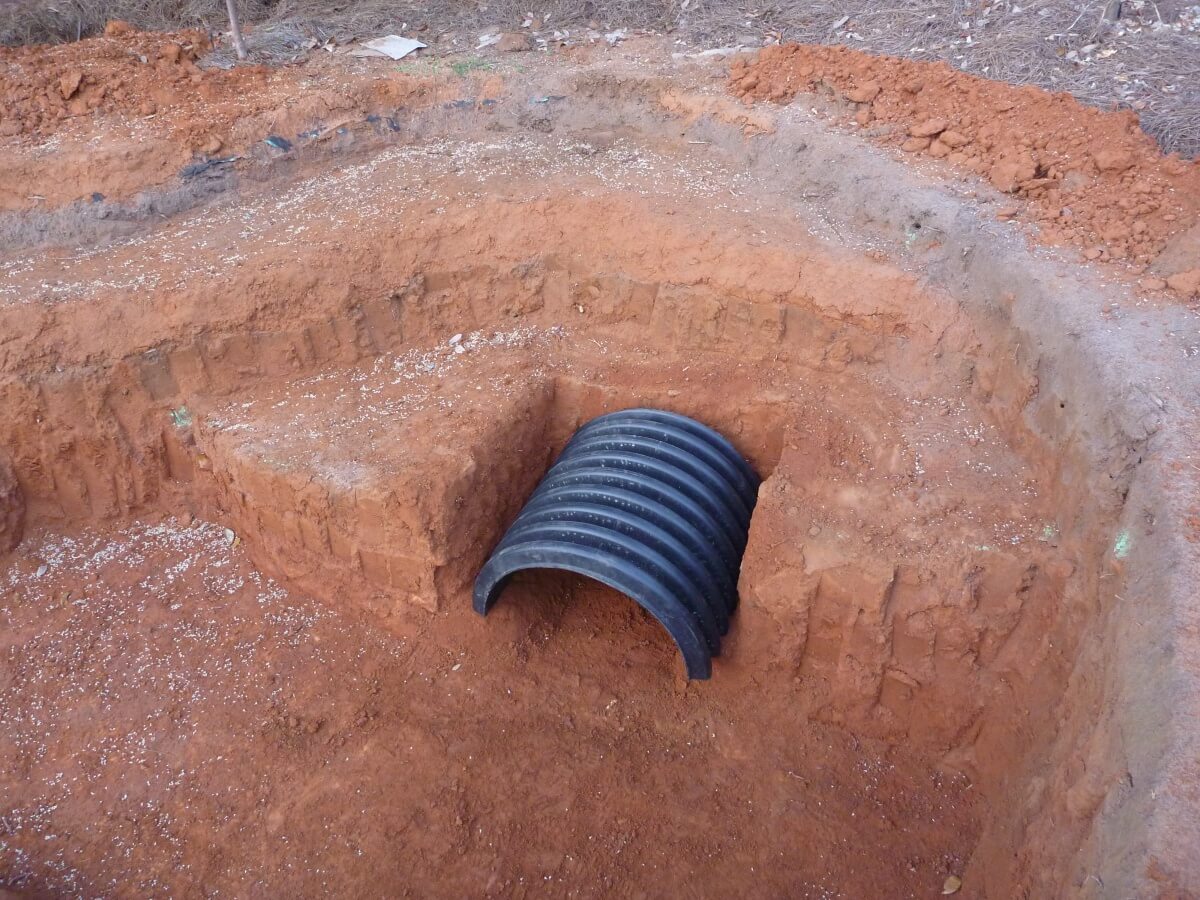
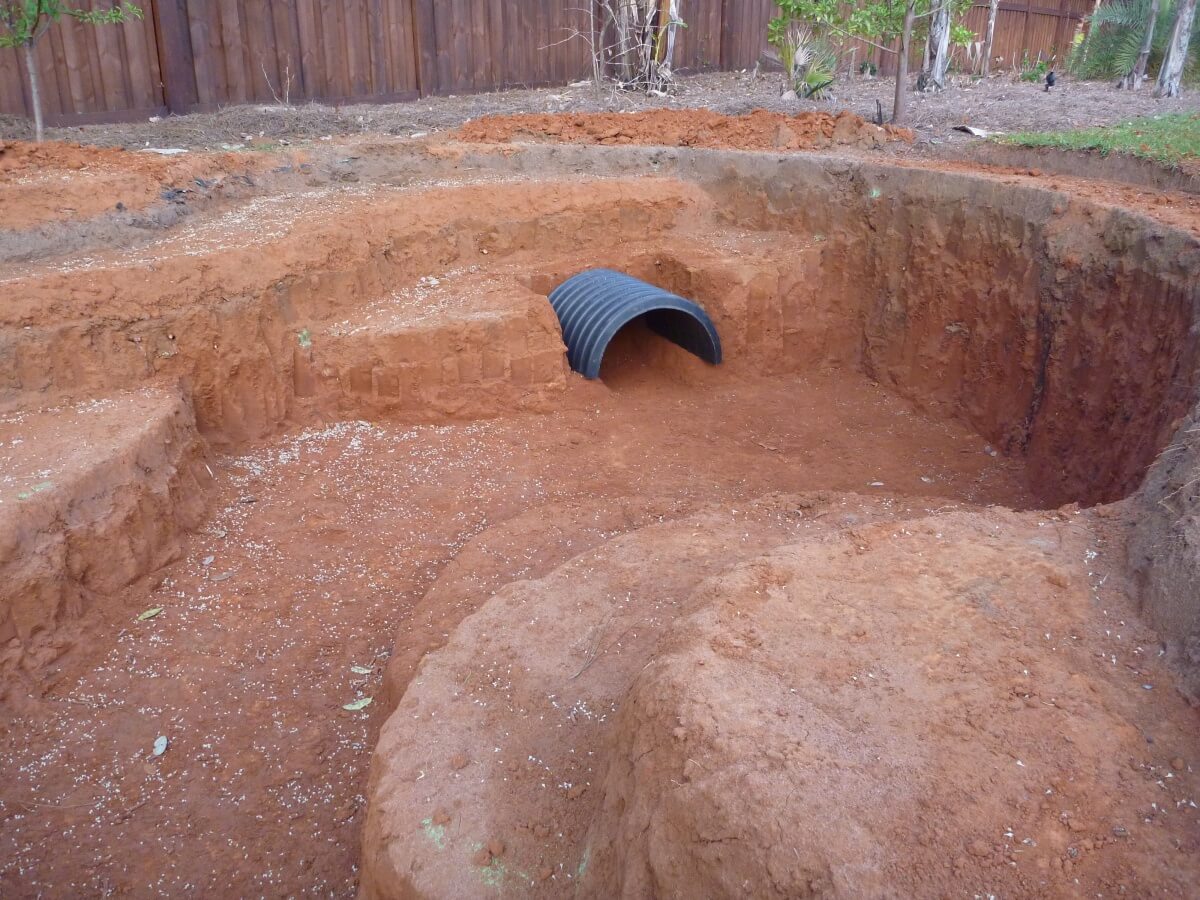
Next step was to layout the underlayment. Underlayment is important because it protects the liner against punctures and tears. You can use anything from old carpet to newspaper as underlayment. If using old carpet you need to be sure there are not staples or nails in it. Newspaper as well as carpet also tend to biodegrade faster than using purpose build underlayment. For this reason and due to the expensive cost of my liner I wanted to use the real thing. The underlayment doesn’t have to be in all one piece but it should cover your entire pond. For my pond I purchased 3 pieces of 12′ x 24′ pieces and I needed another piece that was 6′ x 12′.
Now was time to put in the liner. I took it out of the box and opened it so it would warm up in the sun. I did this step myself but I never should have. This is at least a 2 person job maybe even a 3 person job. I struggled with this and the end result is there are more wrinkles in the liner than there should be. The problem is the liner of this size weighs 300+ lbs and it gets hot in the sun, which you want it to but it can actually heat up enough to burn you so you have to be careful.
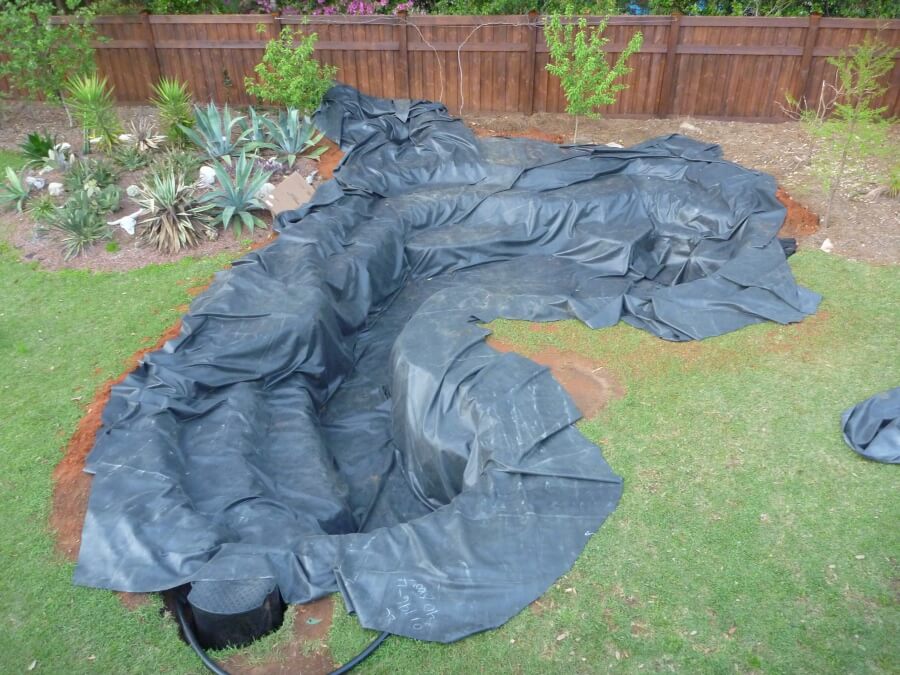
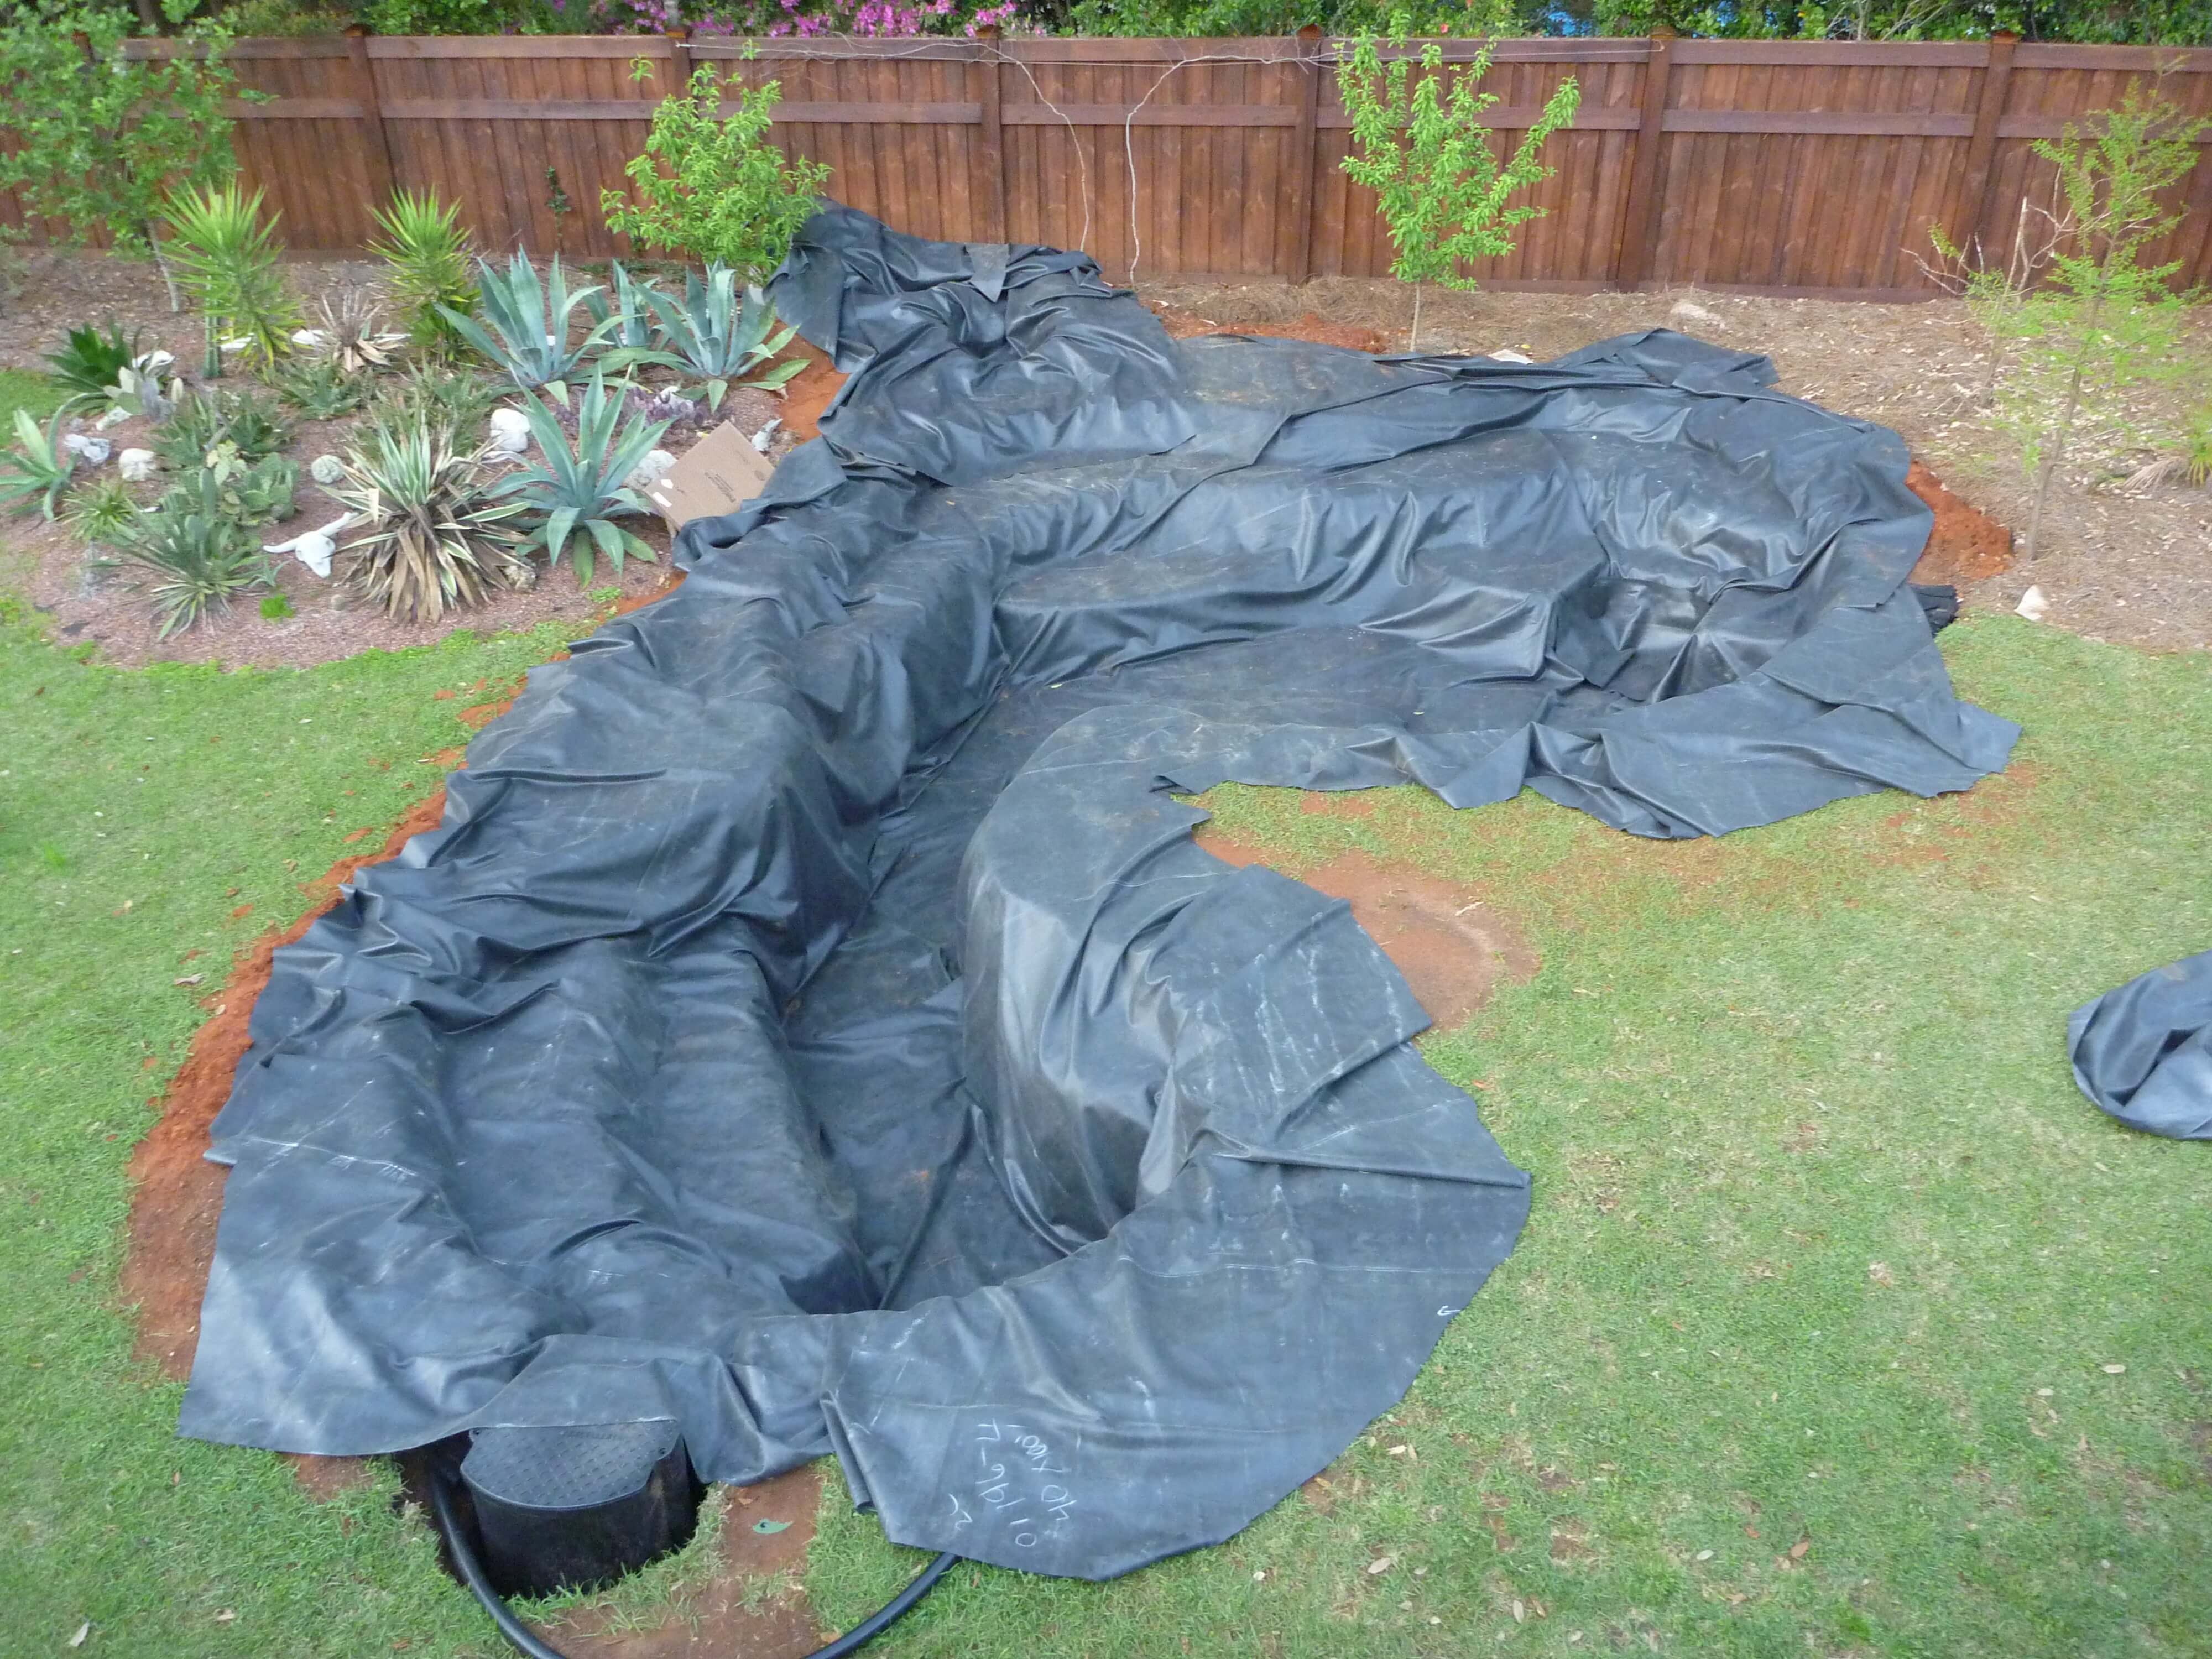
The picture above show the liner installed. I left lots of extra on the sides so that it could be used when the rocks are installed.
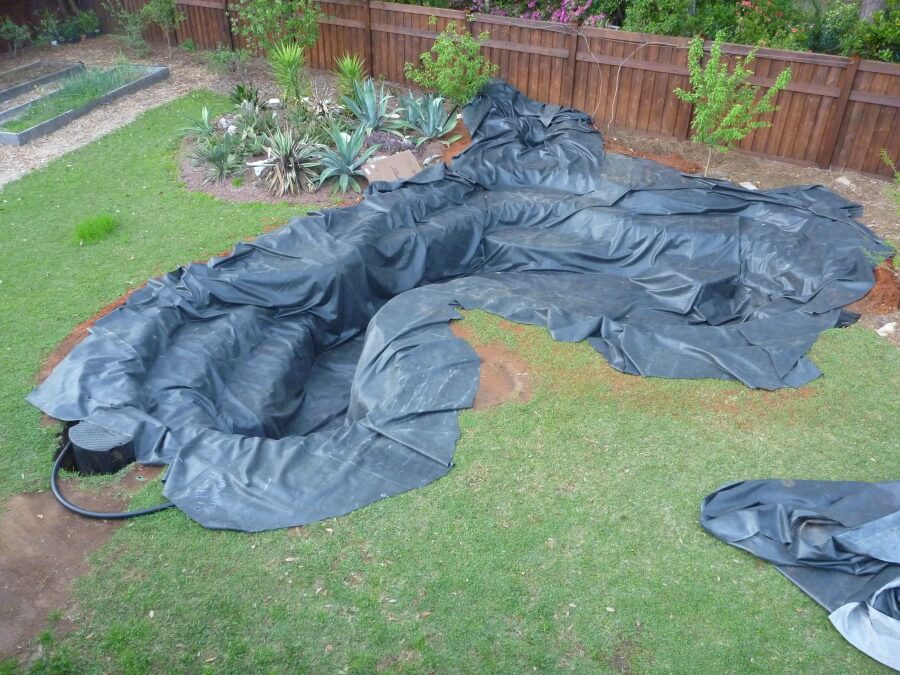
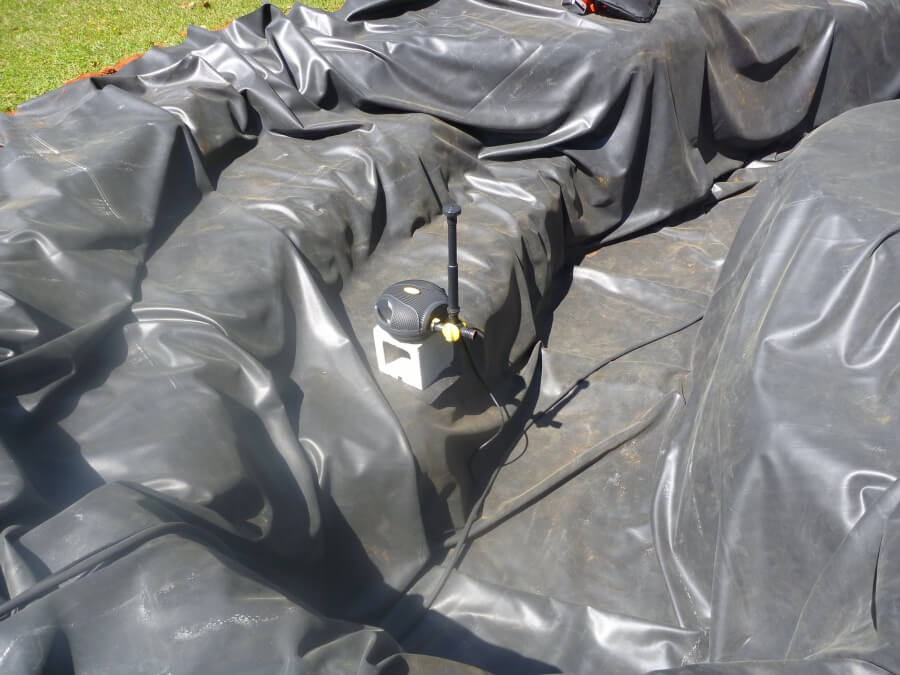
Above I installed the water fountain pump and I also added the air stone and airline tubing into the pond. You can see all the wrinkles. When I start adding water I will remove many of them but the ones that remain can be covered by rocks and the weight of the water will also push them down.
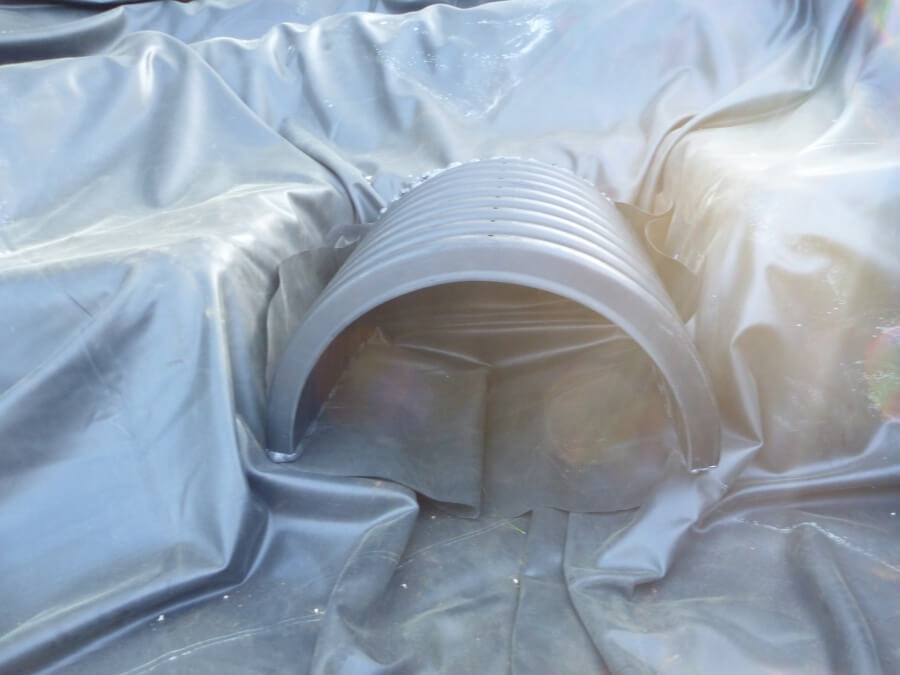
Below is the installed Koi Cave. The width of it is 2 feet so there is plenty of room for koi to under there. I used pond liner tape to hold down the pieces of liner that were underneath the Koi tunnel. I should have also used the pond tape here to actually hold down the tunnel but I didn’t so I had to put a rock on top of it as well because it did start to float when I added water despite all the sand added to the inside chambers of the tunnel.
Next Post: Part 6 Pond Construction – Filling Up Pond With Water
Disclaimer: Links on this page that go to Amazon.com will provide me with a referral credit if you purchase using the links. Thanks,
